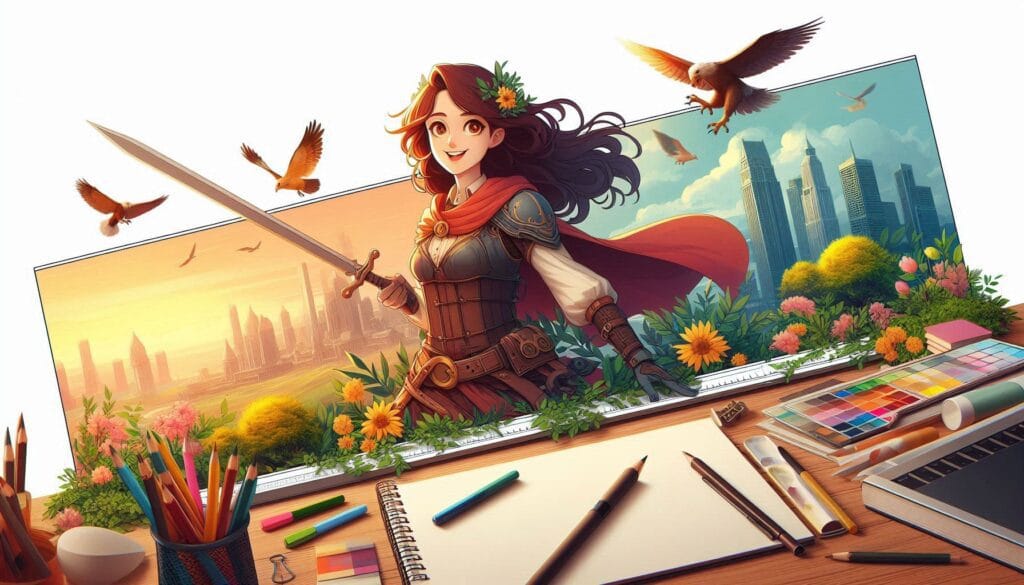
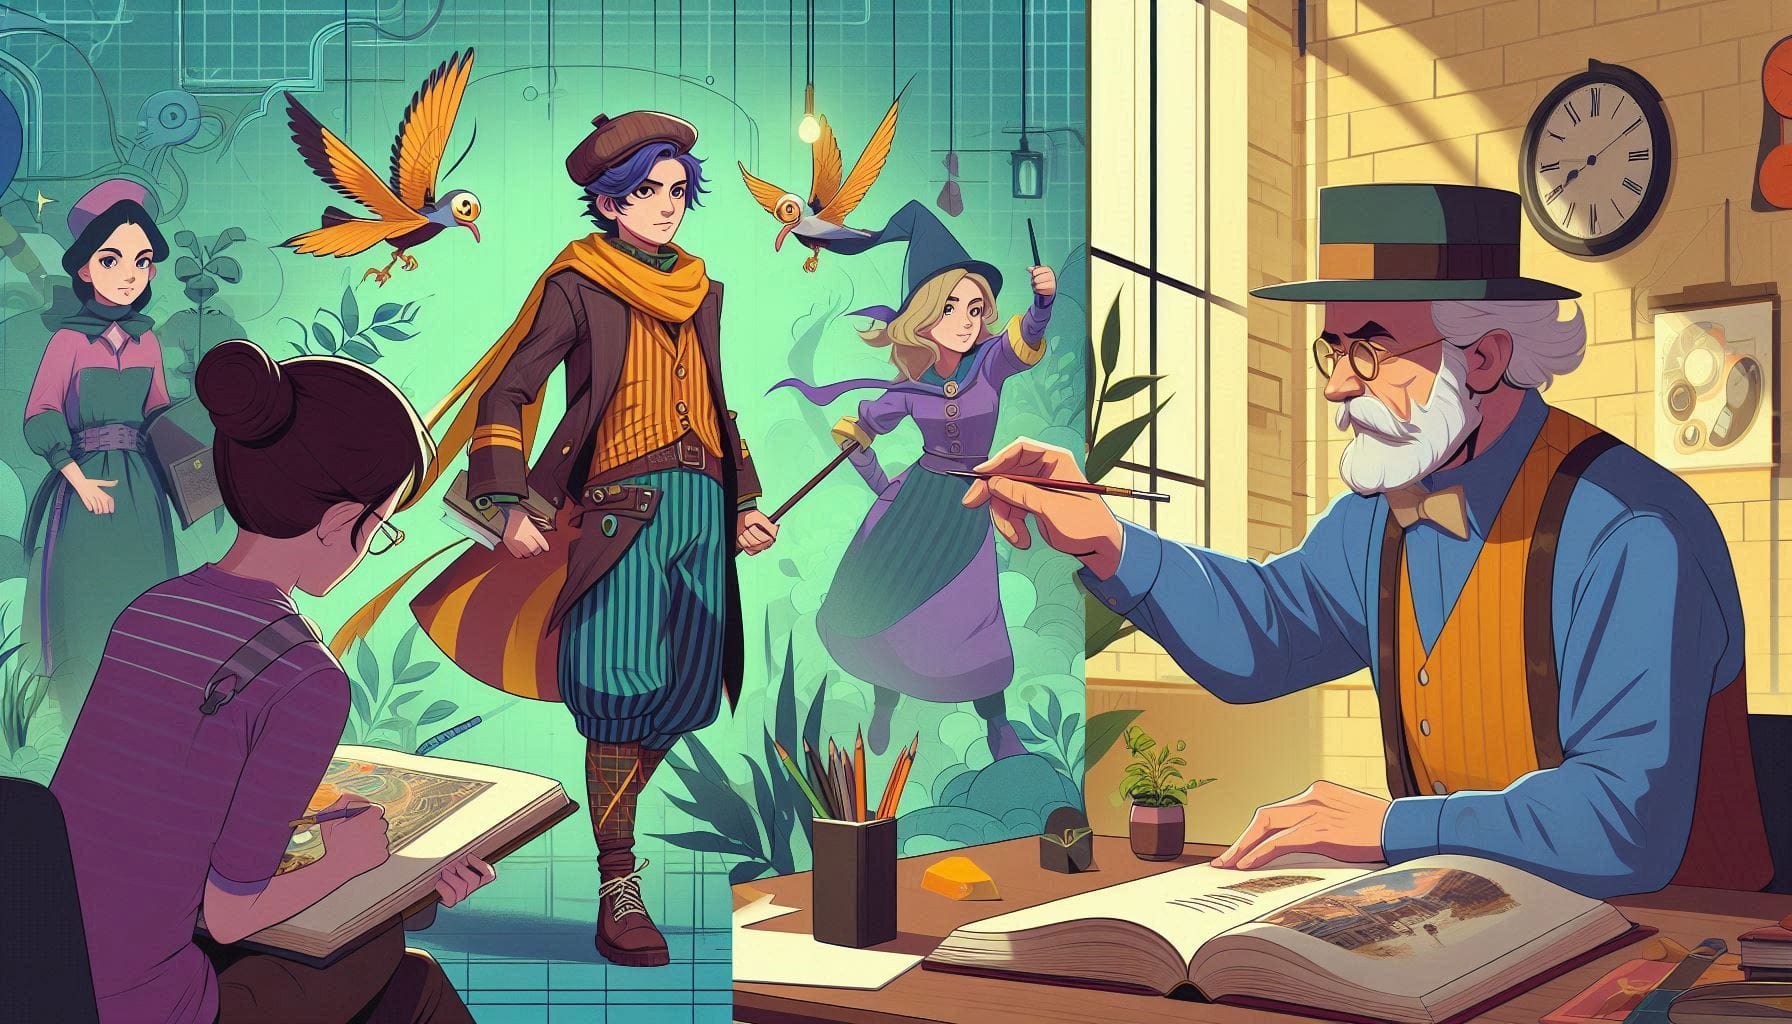
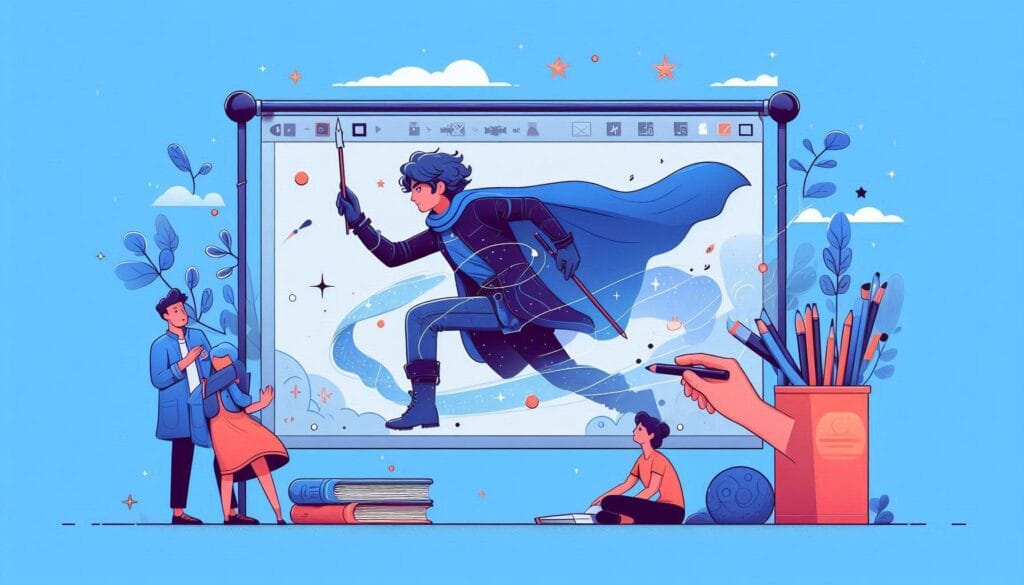
Every way animated project, from movies and TV shows to games and commercials, has its own animation characters that form the heart and soul of the project. These characters serve as vehicles for telling stories and for conveying feelings. Well-designed characters like Mickey Mouse, Goku, or Elsa have turned into cultural emblems that demonstrate how strong they are. This blog post is meant to take you through How to create animation characters step by step from naught to the end animation. Understanding character design intricacies can take your work a notch higher bringing it to life whether you are a novice animator or an experienced artist.
What Makes a Great Animation Character?
Great animation characters share certain traits that make them memorable and engaging. These include:
- Simplicity: Animation becomes easier when it is done using simple designs that people can easily identify. For example, Homer Simpson or Pikachu are some of such characters who have simple forms that make them instantly recognizable.
- Uniqueness: A rare kind of character decides your fate and is most probably going to remain in people’s minds. This can be done by means of unique features, odd-ball behavior, or special-like tones.
- Expressiveness: To relate to their audience, the characters must have expressive bodies and faces that show different emotions; otherwise they remain as just images. The audience will also connect quickly to such people whenever they see them due to their gestures and facial expressions.
The significance of character creation in narration cannot be overstated. It molds not just the character’s looks but also their individual traits as well as their chronological experiences and function within the tale. When sculpted effectively; a character may send out tones of messages or even stories through sight that are more captivating and sensible for anybody watching it. For instance; take Wall E’s case where he is simply projected as a small garbage compression machine having ample and facially expressive eyes which creates sympathy and curiosity in people right from the word go.
1. Concept and Planning
Brainstorming Ideas
To conceive of a lively character, you start with headstorming. You can begin by identifying the story you want to narrate and the part your character will play in it. Put down any sketchy ideas or rough forms of them, and also try out different combinations of design aspects. Be free with your imagination; just keep on brainstorming as long as possible since that’s where all good stuff comes from eventually.
Defining the Character’s Purpose
The assignment of an author functions as an important aspect of literary analysis. Is this your character in the center of their story? Or is it just a minor role? All these will determine what she looks like and who she is like. A typical villain may have cool, edgy look whereas a hero can be warm and friendly in nature.
Research and Inspiration
Inspiration may stem from a multitude of places, such as other animations, artworks, films and even actual life. Different styles and genres need to be explored to figure out what strikes a chord within you. Be attentive on how they present their diverse yet fascinating characters although all these don’t sound alike at all. Besides that, the relevance of real life observations cannot be ignored; they may help develop characters who are more credible or easy to relate with as compared to others.
2. Sketching Your Character: From Concept to Drawing
Basic Shapes and Silhouettes
Commence with mere outlines and outlines to create a solid outline for your character’s shape and structure. This stage is very important in defining the proportions of the character as well as making them easily identifiable. Using basic shapes such as circles, squares or triangles you can combine them and alter them to establish a core design of a character.
Refining the Sketch
When you have an outline of your design, start improving it by including finer elements such as the face features, dressings, and any notable scars. Concentrate on how they stand or appear in order to show their identity and feelings.
Creating Thumbnails
The operation of making thumbnail sketches gives you the ability to investigate other attitudes and reactions from your character. Thumbnails are minute, fast sketches that enable you to play around with different thoughts before they start distracting you due to the little details in them. This serves as a good way to find out the most animated as well as interesting stances of your character.
3. Design Elements: Bringing Your Character to Life
Character Traits and Personality
The design of your character ought to reflect their individual nature. An insightful example is that of a courageous and daring individual possessing a firm demeanor and an assertive look in their eyes while someone with timidity would have an awkward position and refuse to gaze anyone in the face. You should think about how these characteristics can be communicated through facial expressions, movements of the body, or even nonverbal signals.
Clothing and Accessories
The garments and accouterments one wears speak volumes about who they are as a person and where one comes from in any given society. Characters’ clothes can also hint at what kind of work they do, how wealthy they might be, or even what types of things please them most. Consider practicality when creating outfits but remember that clothing should fit into the world where your character exists. If he were a knight from medieval times for example, his suit of armor would be shiny; on the other hand; if he were an astronaut on a spaceship in future years, he would probably have some cutting-edge apparel.
Color Scheme
Character design relies heavily on color. It can trigger emotions, determine character attributes and generate visual uniformity. Therefore, you need to put into account the tone of the story being told as well as the nature of the character when selecting color combinations. For instance, cheerful or heroic characters usually wear bright and vibrant colors while those that are dark may imply some kind of suspense or evil. In addition, using color helps contrast thereby enabling one’s figure pop out from different types of backgrounds.
4. Digitizing Your Character: Tools and Techniques
Choosing the Right Software
There are many software options to choose from when it comes to character design and each has its own strengths. For instance, if you are interested in making vector graphics that can be resized without losing quality, Adobe Illustrator is ideal because it produces smooth lines. On the other hand, Procreate is a good choice if you prefer painting with brushes like you would do with real paint on an iPad. Another option is Clip Studio Paint which is ideal for comic book and manga artists who want to create high-quality books from scratch. However, make sure you pick a program that matches your artistic style and fits your project requirements properly.
Vector vs. Raster Graphics
This is important for you to understand the distinction between vector and raster graphics. The shapes in vector illustrations are made with mathematical equations that can be extended indefinitely without affecting their quality. This makes them perfect for images such as logos, icons, and character designs that need to vary in size. Raster illustrations on the other hand consist of pixels hence they are ideal for detailed pictures or digital art while they may lose quality when increased in size.
Tracing and Refining the Digital Sketch
Use your preferred software to draw in your hand. Utilize the software’s tools to outline and improve upon the sketch, making neat lines and shapes. Observe the thickness of lines as well as their continuance, since they have an influence on how the character appears overall. After doing so, supplement it with color and shadow to make it more real.
5. Adding Depth and Dimension: Shading and Texturing
Basic Shading Techniques
Shadows make characters look more three-dimensional, adding depth and volume. Start with basic shading techniques like using only one light beam to create darkness. It helps to get an idea of the character’s shape plus adds some weightiness and stable feel. Then increment these shades gradually as they take time in relation with the kind of things that comprise illumination interacting with various surfaces.
Texturing and Patterns
Character visualization becomes more attractive when textures and patterns are used because they tell about their world in more detail. This is evident when one looks at what people wear in terms of fabrics and the way their skins appear. Make sure not to overdo the texturing but rather keep it simple so that it can be an enhancement and not a distraction from the main features.
Lighting and Highlights
The lighting is important in order to come up with a moving and real character. Highlight those regions where light falls as naturally, such as the forehead, nose, and shoulders. Think about the direction of light source, its intensity and employ it to make contrasts and drama. By proper lighting, you can create a certain mood as well as ambiance in terms of your character’s design.
6. Animating Your Character: Bringing Movement to Life
To animate your character, you need to understand fundamental animation principles. These include:
- Squash and Stretch: The movement of a character is affected by this principle such that it appears to have weight and volume. For instance, when a character jumps, their face might appear to squash when they come down, but when they start to take off, it may stretch out.
- Timing and Spacing: In a movement, the number of frames used is called timing and the distance between every frame is known as spacing. The combination of both determines how fast or slow an animation appears as well as its smoothness.
- Anticipation: It is a rehearsal for an essential move. A character, for instance, bends down before leaping. It adds more credibility to their actions and gives hints about upcoming events.
Creating Key Poses
Your character motions should start from the key poses. The action’s most important positions are being defined as a base for the animation. For instance, if you are animating a character walking, then key poses would include contact, passing and down positions (for exhaustive details). So once you have identified what your key poses will be, next step requires you to create in-between frames that help smoothen the movement.
Using Animation Software
Software programs that animate characters vary in capabilities and functions. In the world of 2D animation, Adobe Animate is a popular platform with numerous tools for intricate animating. Another great tool that many industry professionals use for both 2D and cut-out animation is Toon Boom Harmony software. When it comes to 3D animation, however; Blender remains unbeatable due to her widespread range of resources including modeling in three dimensions, setting up rigs and making characters move. Ultimately, select the right software based on your experience level and type of job at hand.
7. Polishing and Finalizing Your Character
Refining Details
When you’re close to finishing your character, take time to polish all the nitty-gritty stuff. This means getting rid of bumps and lumps, matching colors correctly, and making sure that lights and shadows stick together. Think about slight aspects such as the way one’s nose is cut or how a bright blue scarf will clash with the orange top worn by someone else, for instance.
Feedback and Iteration
The process of design requires an essential part which is called seeking feedback. To get informative discussions about your character, show it to your mates, coaches, or internet neighborhoods. Welcome opinions that will help you make your artwork better. The only important one is iteration; hence, if you see a need for any adjustments, do not shy away from making them and trying out various alternatives. In some cases, just small modifications can turn ordinary into extraordinary types of characters.
Exporting Your Character
Once your character is complete, it should be exported in the quantity needed. For still images, this could be a PNG or JPEG depending on the project, while simple animations may necessitate a GIF, and more complex ones would require video files. Make sure that the file is well-suited for its destination, including web, print or other media such as TV, etc.
Conclusion
It is an adventure full of surprises and delight on how to create animation characters. Every stage, from idea generation to what will appear on the screen, is an opportunity to make use of your artistic talent and story-telling ability. Just bear in mind that designing characters involves a stepwise approach which calls for practice and experimentation for increment in skills.
The first rough sketch of any amazing character calls for many corrections but don’t let any difficulty or failure ever wear you down. Appreciate that learning is progressive, draw ideas from different sources around here when crafting such designs, and be ready to learn all through your life. But most importantly, enjoy yourself and be guided by your own creativity. Whether you are animating people for personal projects, games, or even jobs, this information will spare you great time… So hold that pen or tablet or mouse firmly and let it begin to create your characters afresh. They just can’t wait!