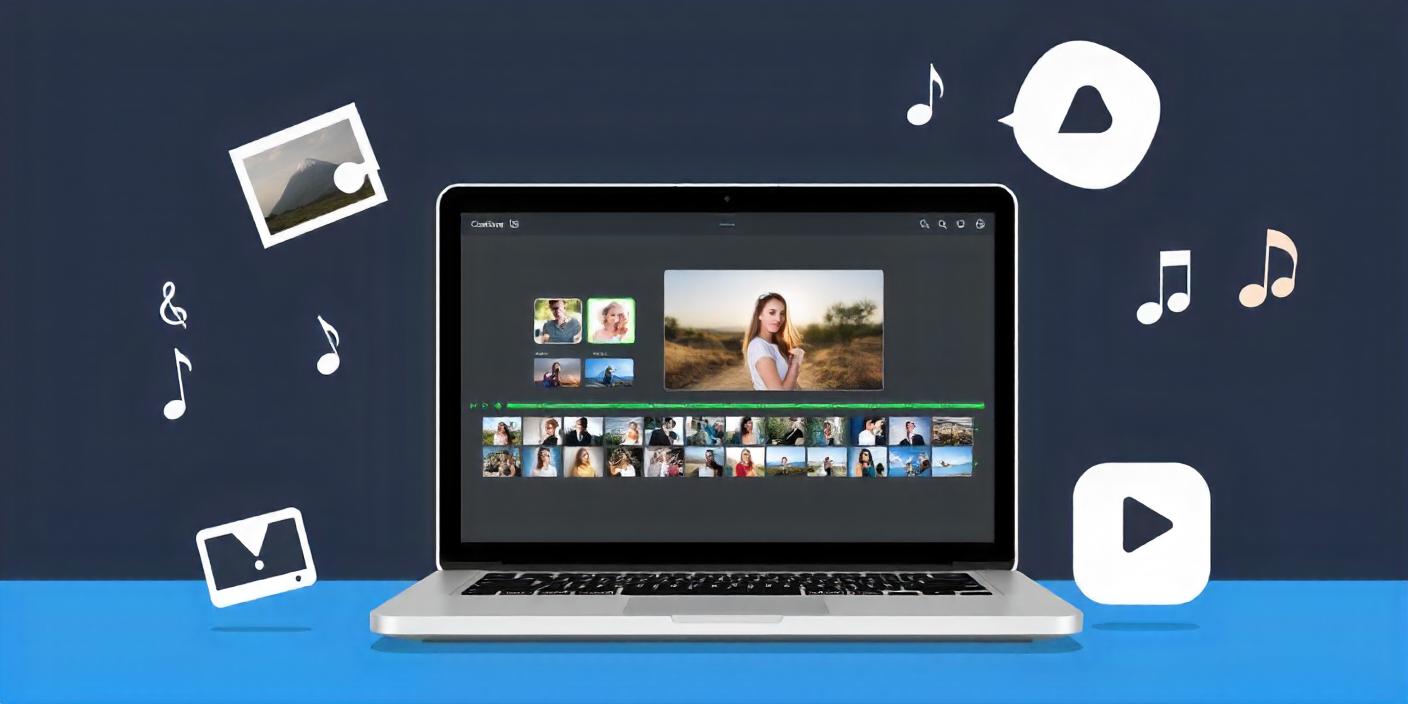
Hey there! Ever wanted to turn your photo collection into an awesome video with a killer soundtrack? Well, you’re in luck because we’re about to spill the beans on how to create a video with pictures and music. It’s not as tough as it sounds!
In this digital age, videos are everywhere. Whether you’re trying to preserve memories, jazz up a work presentation, or just flex your creative muscles, knowing how to create a video with photos is a pretty sweet skill to have.
Here’s what we’re gonna tackle:
- Planning Your Video
- Picking the right tools for the job
- Getting your stuff into the software
- Making the magic happen (editing)
- Adding those final touches
- Showing off your creation to the world
Step By Step Guide: How to Create a Video with Pictures and Music
Step-1: Planning Your Video
Alright, before we jump into the techy stuff, let’s take a sec to plan this thing out.
1. Define Your Purpose and Audience
First things first: why are you making this video? Is it a cool promo for your business? Or maybe just a fun montage of your epic summer vacation? Whatever it is, knowing your “why” will help guide your decisions along the way.
2. Gather Your Materials
Now it’s time to round up the goods. Start scrolling through your phone gallery. Pick out the pics that really tell your story. And hey, quality matters! Nobody wants to see blurry shots of your thumb.
Next up: music. The right tune can make your video go from meh to amazing. Think about the vibe you’re going for. Upbeat pop for a fun vacation video? Soft acoustic for a romantic montage? Choose wisely, my friend.
Last but not least, get organized. Make a new folder on your computer and dump all your pics and music in there.
Step-2: Choosing the Right Tools

Now that we’ve got a game plan and materials let’s talk about how to make a video using photos.
1. Software Options
So, how to make a video from photos? You’ve got options. Here’s the lowdown:
- For newbies: iMovie (if you’re a Mac person) or Windows Movie Maker (for the PC crowd) are free and pretty easy to figure out.
- For those who want a bit more oomph: Check out Filmora or OpenShot. They’ve got some cool features without breaking the bank.
- For the video techies: Adobe Premiere Pro or Final Cut Pro are the big guns.
Pick something that matches your skill level and won’t make your wallet cry.
2. Hardware Requirements
Most computers these days can handle basic video editing just fine. But if you’re working with a ton of high-res photos or planning some fancy effects, you might need a bit more horsepower.
If your computer’s a few years old, you might want to consider upgrading your RAM or getting an SSD. And if you’re serious about this video-making thing, an external hard drive for storing your projects isn’t a bad idea.
Step-3: Importing Media
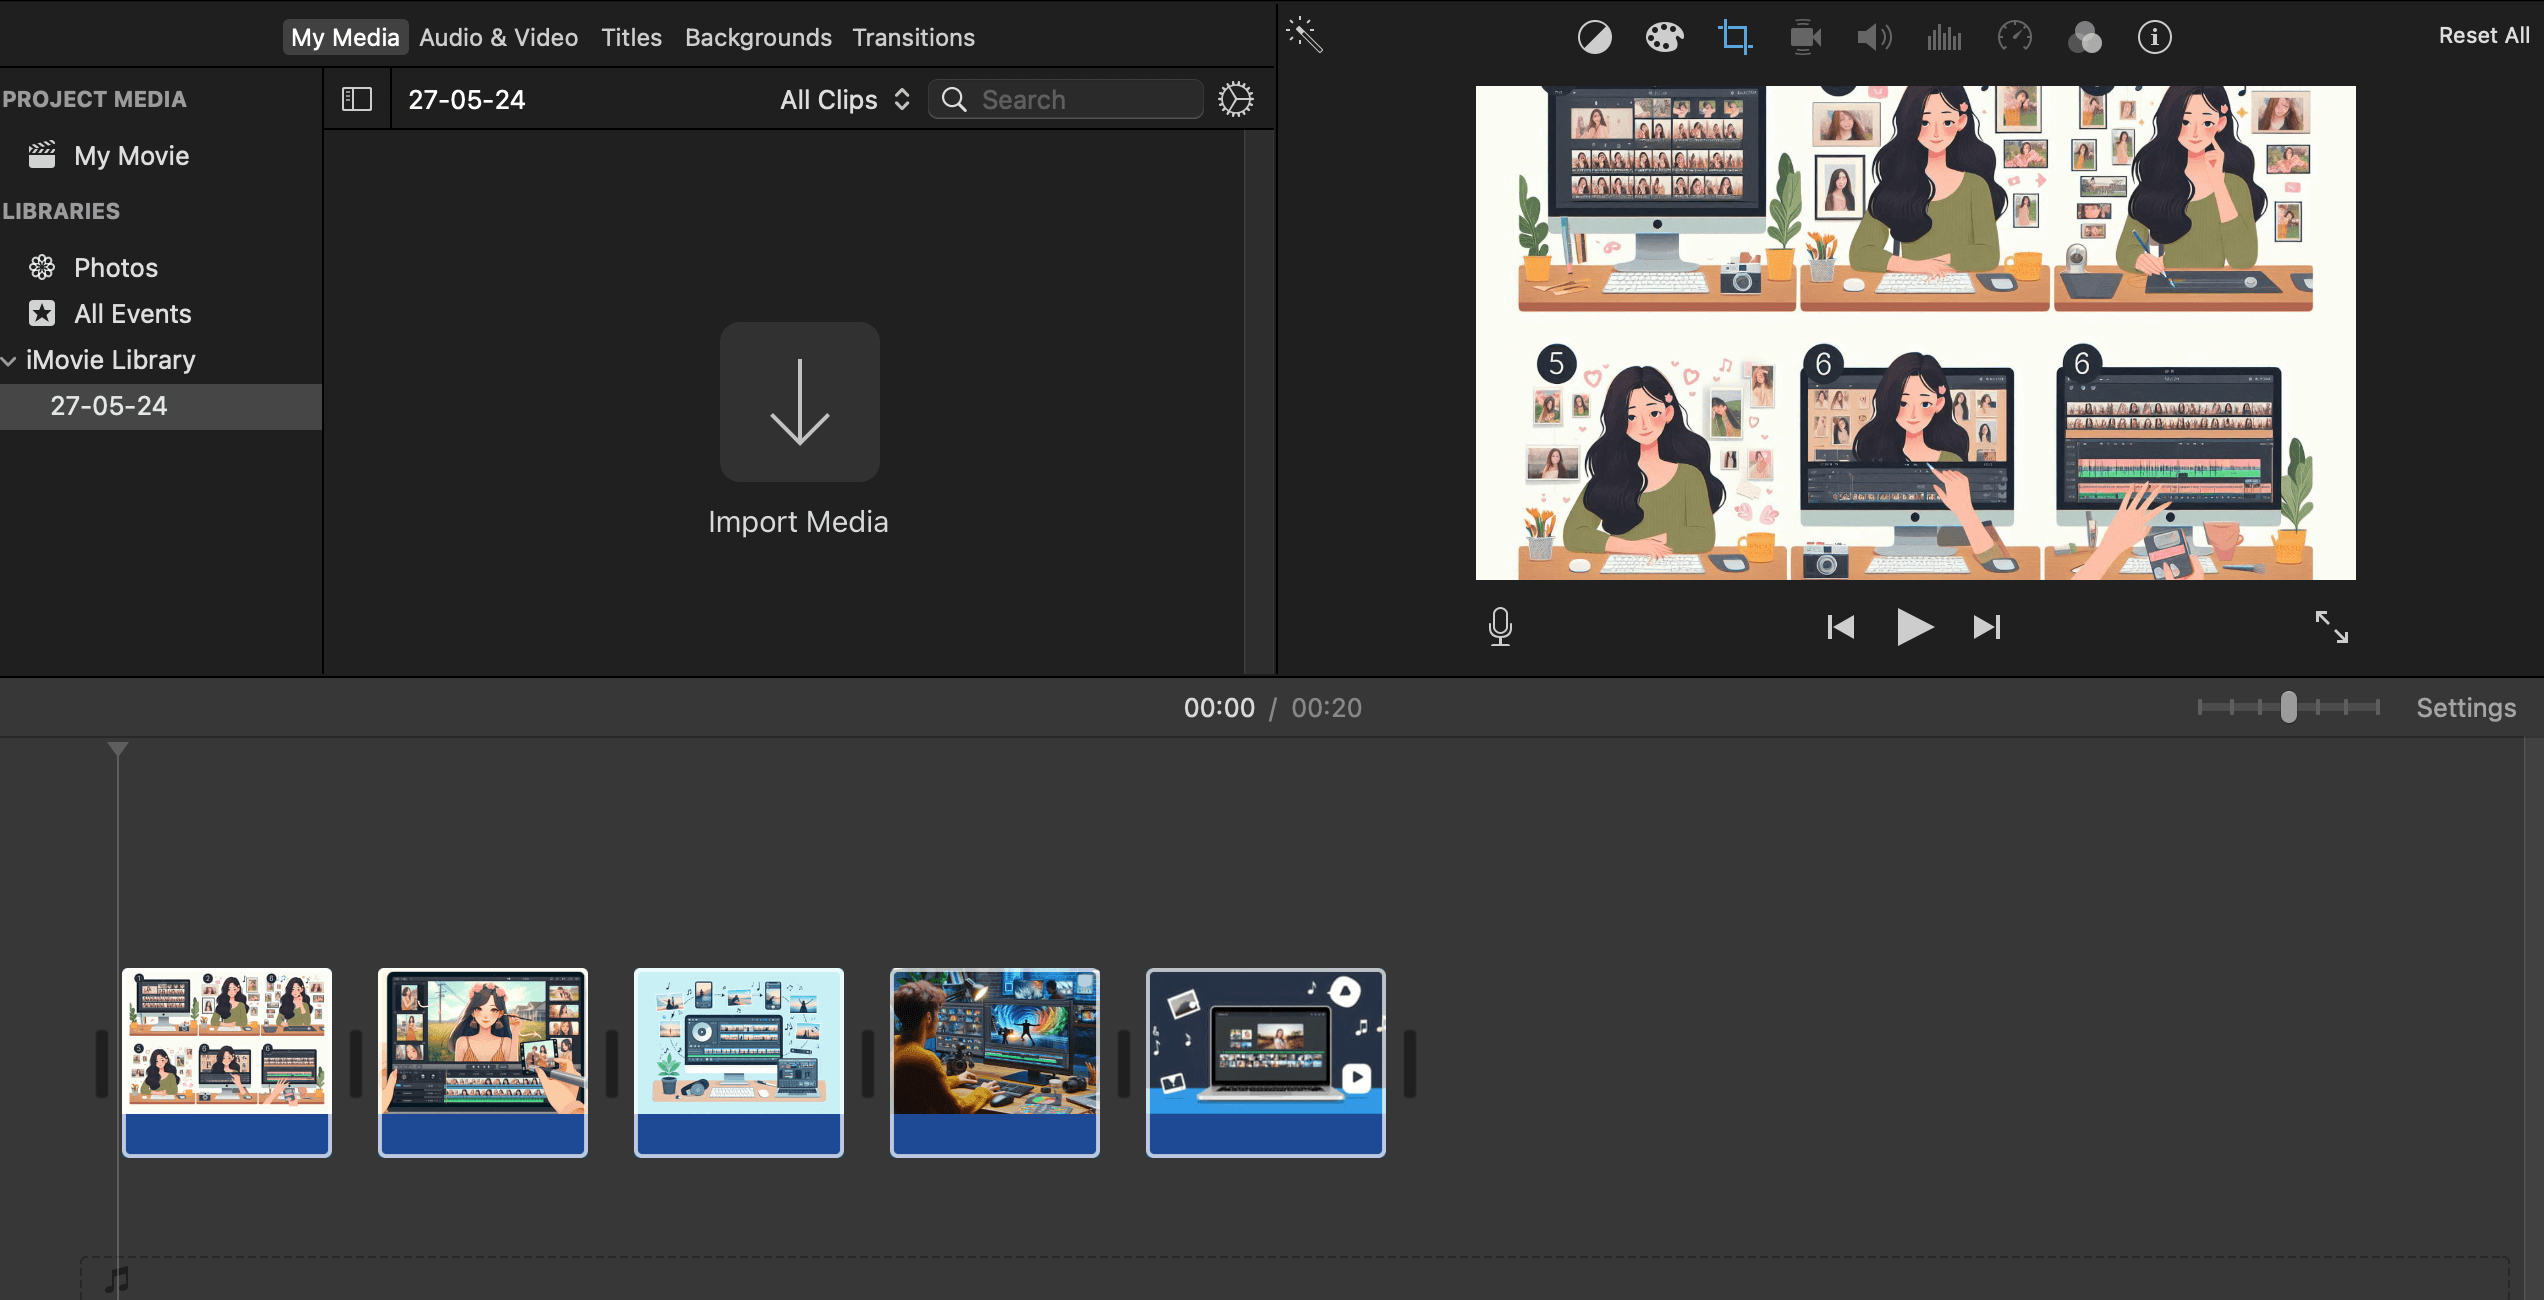
Okay, we’ve got our tools; now, let’s get our stuff into the software and start the fun part!
1. Importing Pictures
This part’s pretty straightforward, but it might look a little different depending on what software you’re using. Generally, though, it goes something like this:
- Fire up your video editing software
- Look for a button that says “Import” or “Add Media” or something like that
- Find the folder where you stashed your pics
- Select the ones you want to use
- Hit “Import” or “Open”, and boom! They’re in.
Once they’re in, you’ll probably see them in some kind of media library in your software. That’s where you’ll grab them from when you start putting your video together.
2. Importing Music
Adding tunes is pretty much the same deal:
- Hit that “Import” or “Add Media” button again
- Track down your music file
- Select it and click “Import” or “Open.”
Your song should pop up in your media library along with your pics.
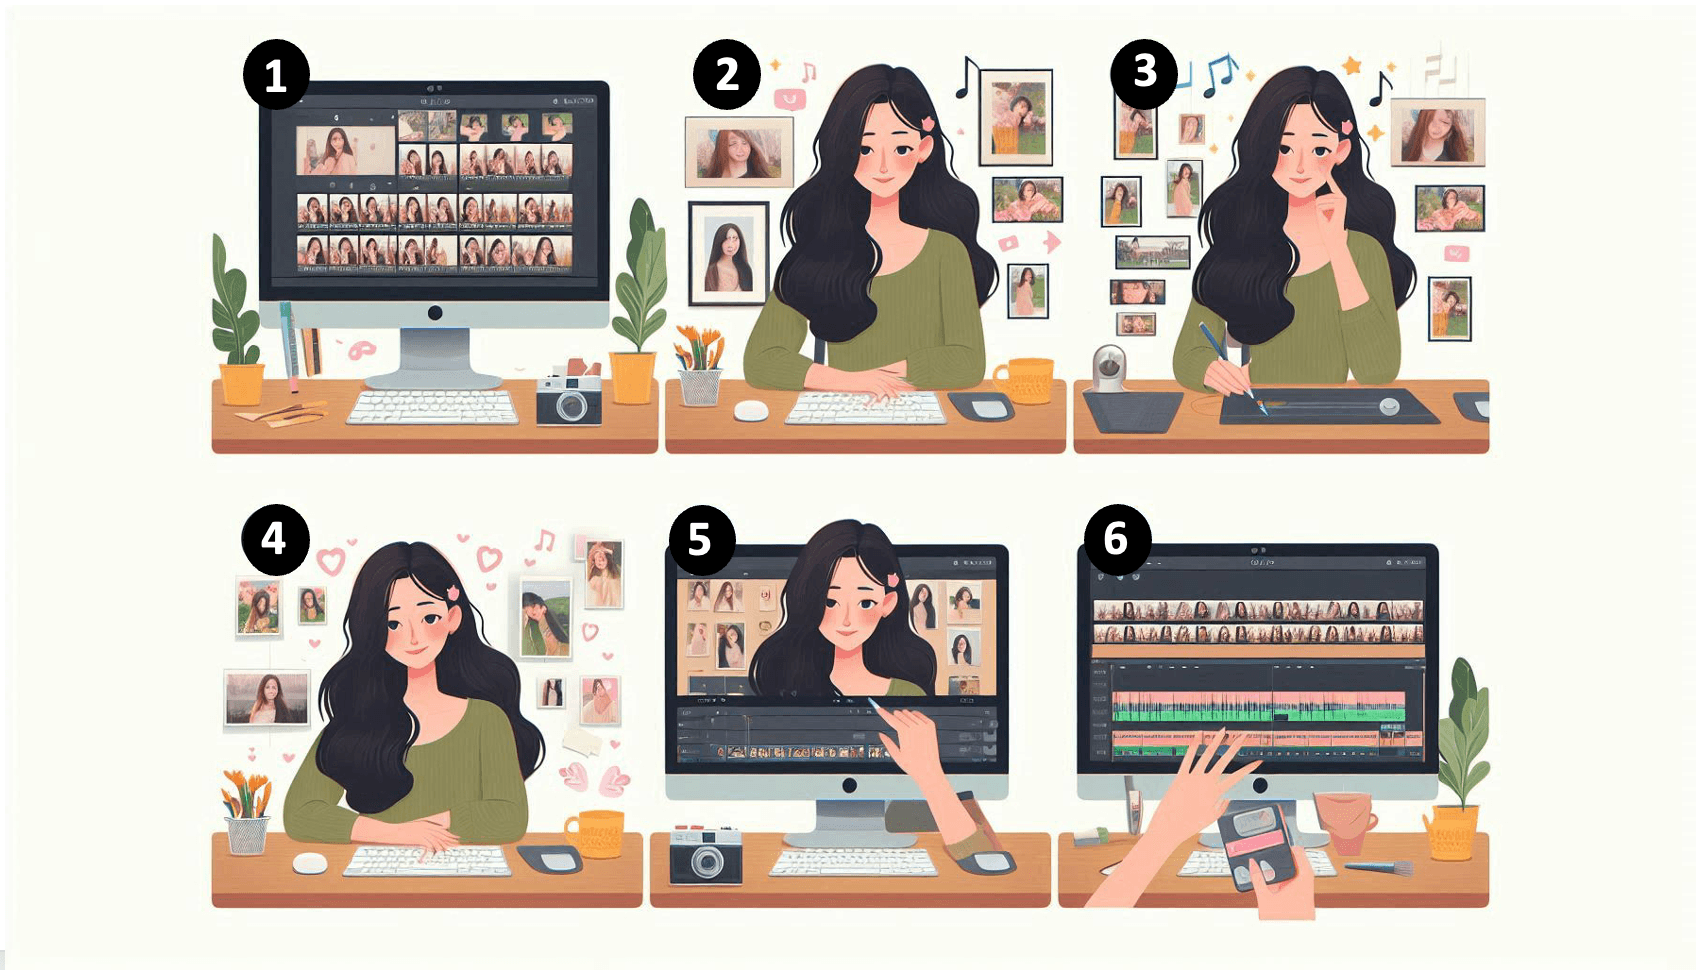
Step-4: Editing Your Video
Alright, this is where things get really fun. We’re gonna turn those still shots into a rockin’ video!
1. Arranging Pictures
Start by grabbing your first pic and dragging it onto the timeline. Then, just keep adding the rest in whatever order feels right. Most software lets you choose how long each pic stays on the screenplay until it feels good.
To make it all flow nicely, try adding some transitions between the pics. Look for a “Transitions” menu in your software. You’ll probably see options like fades, dissolves, and slides.
2. Syncing Music
Now, let’s get those pics dancing to the beat! Drop your music onto the timeline, usually on a separate track below your images. Give it a listen and try to match up your image changes with the music. Fiddle with how long each pic shows until it all lines up nicely.
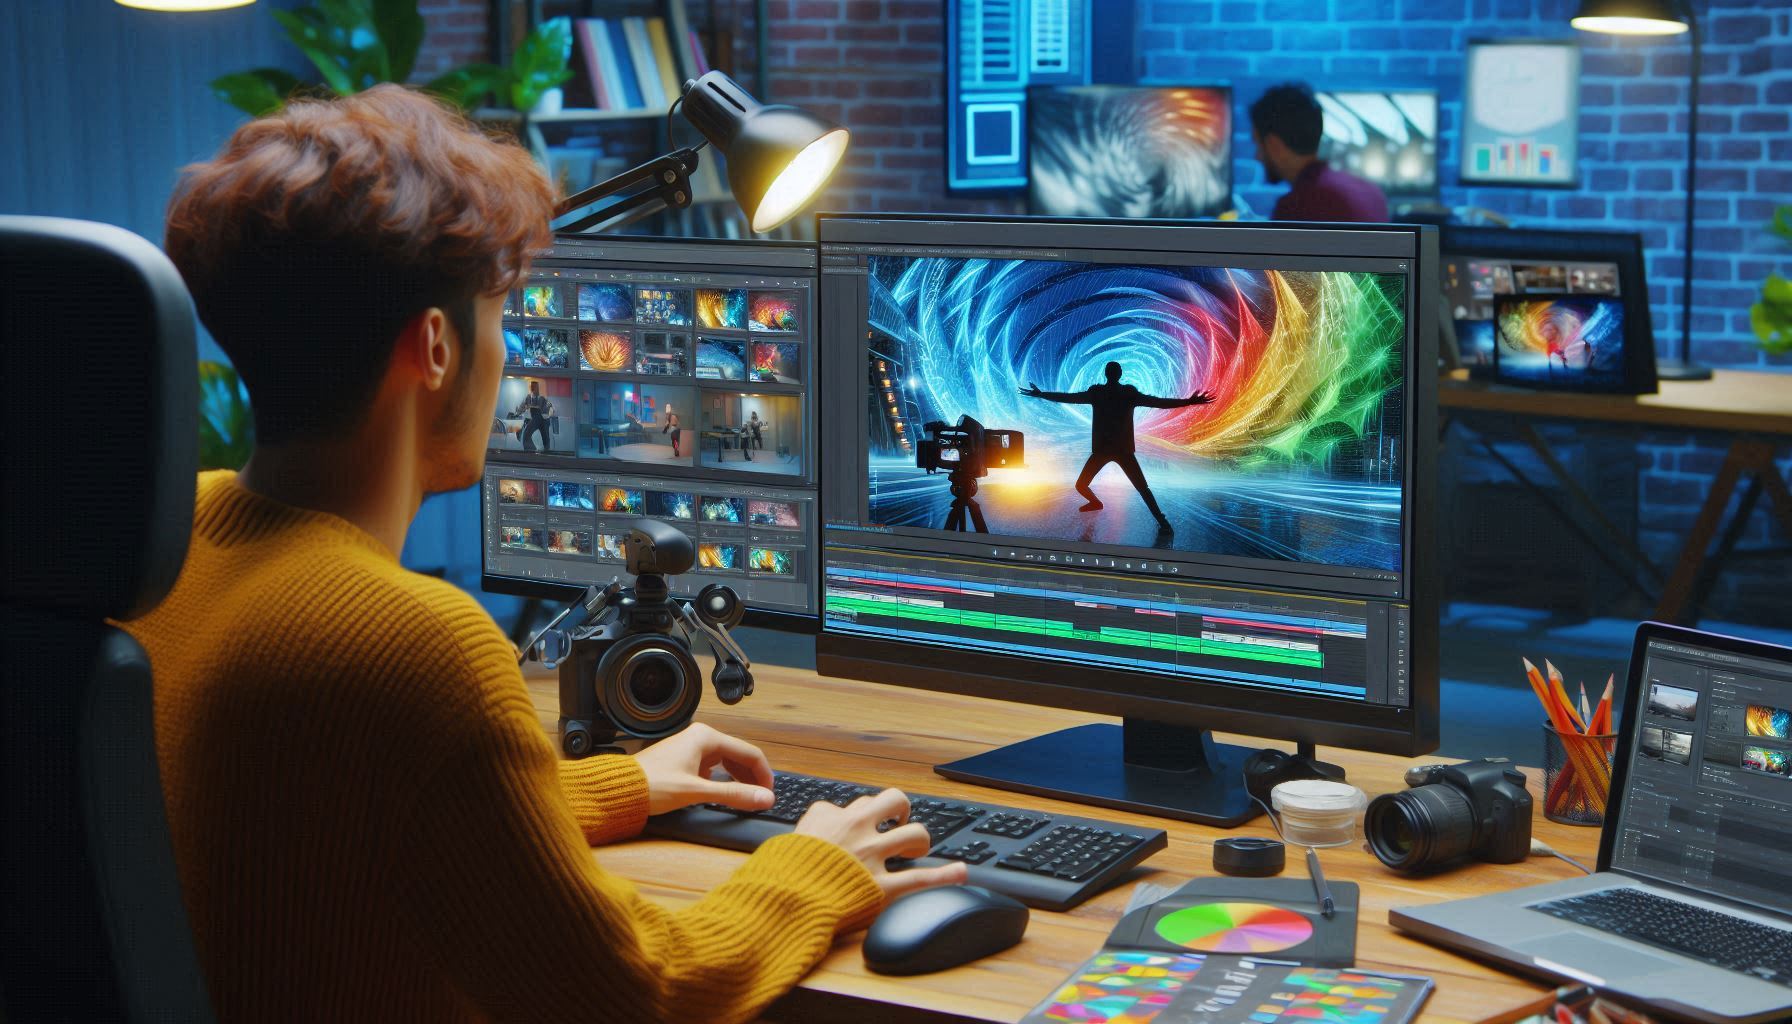
3. Adding Effects and Text
Want to add some extra pizzazz? Most software has some built-in effects or filters you can slap on your pics.
And don’t forget about the text! You might want to add some titles and captions or even tell a story with some well-placed words. Just keep it readable and don’t let it steal the show from your awesome pics.
Step-5: Final Touches
Time to polish this baby up to create video from images!
1. Reviewing and Editing
Take a break, then come back and watch your video from start to finish. Does it flow well? Do the transitions look smooth? Does the music fit the mood? Jot down any spots that need some tweaking.
Now, go back and make those adjustments. Maybe you need to reorder some pics, tweak some transition timings, or fiddle with the music volume. Take your time – this is where your video really comes together.
2. Exporting Your Video
Are you happy with your masterpiece? Awesome! Time to get it out of your software and into the world. Look for an “Export” or “Share” button. You’ll probably see a bunch of options for video quality – higher quality means a bigger file size. For most stuff, 1080p (that’s 1920×1080 pixels) is a good middle ground.
Pick a name for your video, choose where to save it, and hit that export button. Now’s a good time to grab a coffee – depending on your video length and computer speed, this might take a few minutes.
Step-6: Sharing Your Video

Woohoo! You’ve officially learned how to make a video out of pictures. Now, let’s get that masterpiece out there for the world to see!
1. Uploading to Platforms
Every platform’s a little different, but here’s the general idea:
- Head to your platform of choice (YouTube, Vimeo, Facebook, wherever)
- Look for an “Upload” or “Add Video” button
- Find your video file and select it
- While it’s uploading, add a catchy title and description
- Pick a thumbnail that’ll make people want to click
- Decide who gets to see it (public, friends only, etc.)
- When you’re ready, hit that “Publish” button!
2. Optimizing for Different Platforms
To get the most eyes on your video, keep these tips in mind:
- For YouTube: Use keywords in your title and description to help people find your video
- On Instagram: Keep it under a minute for the main feed, or use IGTV for longer stuff
- Over on Facebook: Upload directly to Facebook instead of sharing a link – their algorithm likes that better
Oh, and heads up – each platform might squish your video a bit differently, so give it a quick watch after uploading to make sure it still looks good.
Conclusion
And there you have it, folks! You now know how to create a video with pictures and music. Let’s do a quick recap:
- Plan it out and gather your stuff
- Pick your software and make sure your computer’s up to the task
- Get your pics and music into the software
- Arrange everything and sync it up with the tunes
- Add some cool effects and text if you want
- Give it a final once-over, make any last tweaks, and export
- Share your awesome creation with the world!
Remember, practice makes perfect. We’d love to see what you come up with! And hey, if you’re still scratching your head about how to make a video with photos, just approach IceNFire Media. We’re here to help make your videos highly impactful by utilizing the basics of marketing and consumer psychology!
We’re pros at turning photos and music into knockout videos. From brainstorming ideas to putting on the finishing touches, we’ve got you covered. Hit us up, and let’s do something extraordinary together!
FAQs
Depends on what it’s for! For social media, aim for 1-3 minutes. 5-10 minutes can work well for a deeper dive into a story.
Be careful with that—copyrighted music can get you in hot water. Look for royalty-free tunes, or consider buying a license if you’re using it for business purposes.
A good rule of thumb is about 10-15 pics per minute of video, but hey, rules are made to be broken! Go with what feels right for your story.
You can make some pretty sweet videos with free tools like iMovie or Windows Movie Maker. The fancy software is excellent but not necessary when you’re starting.